在过去的几周里,我写了很多关于 CMake 的文章。如果你感兴趣,可以点击以下链接阅读:
本周我们将继续对 CMake 的探索,这篇文章技术性高,且易于实操,我们会练习将 CMake 用于一个实际的项目。我将使用 OpenCV 得到的 CMake 标志显示。听起来就很有意思,话不多说,让我们开始吧。
我们身处何方?
现在是 2021,C++ 世界已准备向 C++ 20 跃进。现代 CMake 日趋成熟,在windows 上获取 OpenCV 也只是一些 vcpkg 命令的问题。由于 vcpkg 总是从源代码处编译所有内容,所以与安装器不同,避免了很多兼容性问题。
首先可以参考链接中非常实用的安装说明,安装 vcpkg。在 OpenCV 的编译过程中,将构建和安装以下软件包:
- libjpeg-turbo[core]:x86-windows -> 2.0.5
- liblzma[core]:x86-windows -> 5.2.5#2
- libpng[core]:x86-windows -> 1.6.37#13
- libwebp[core,nearlossless,simd,unicode]:x86-windows -> 1.1.0#1
- opencv[core,dnn,jpeg,opengl,png,tiff,webp]:x86-windows -> 4.3.0
- opencv4[core,dnn,jpeg,opengl,png,tiff,webp]:x86-windows -> 4.3.0#4
- opengl[core]:x86-windows -> 0.0#8
- protobuf[core]:x86-windows -> 3.14.0
- tiff[core]:x86-windows -> 4.1.0
- zlib[core]:x86-windows -> 1.2.11#9
使用 vcpkg 编译OpenCV 需要一些时间,因为上面的所有依赖项也将从源代码处编译。因此,在 OpenCV 编译过程中要有耐心,具体有下面十个步骤:
- Starting package 1/10: libjpeg-turbo:x86-windows
- Starting package 2/10: liblzma:x86-windows
- Starting package 3/10: zlib:x86-windows
- Starting package 4/10: libpng:x86-windows
- Starting package 5/10: libwebp:x86-windows
- Starting package 6/10: opengl:x86-windows
- Starting package 7/10: protobuf:x86-windows
- Starting package 8/10: tiff:x86-windows
- Starting package 9/10: opencv4:x86-windows
- Starting package 10/10: opencv:x86-windows
使用 vcpkg 完成 OpenCV 编译后,你将在 <relative directory>\vcpkg\installed\x86-windows\share\opencv\OpenCVConfig.cmake. 中看到 OpenCVConfig.cmake。 此文件包含 OpenCV CMake 选项,用于外部项目。让我们从这个 OpenCV CMake 配置文件的开头开始,构建一个 CMakeLists.txt 文件:
cmake_minimum_required (VERSION 3.8)
project (“CMakeTriangles”)set (CMAKE_TOOLCHAIN_FILE “D:/Tools/vcpkg/scripts/buildsystems/vcpkg.cmake”)
set (OpenCV_DIR
“D:/Tools/vcpkg/installed/x86-windows/share/opencv”)
find_package(OpenCV REQUIRED)
# Add source to this project’s executable.
add_executable (CMakeTriangles “CMakeTriangles.cpp”)
target_link_libraries (CMakeTriangles ${OpenCV_LIBS})
# TODO: Add tests and install targets if needed.
在系统中使用硬编码路径获取 CMakeLists.txt 文件,是绝对不可取的,我们稍后会给出建议的方案。现在让我们看看如何使用 OpenCV 制作 CMake 标志。以下是 CMakeTriangles.cpp 的代码:
#include <opencv2/core/core.hpp>
#include <opencv2/highgui/highgui.hpp>
#include <opencv2/imgproc.hpp>
#include <iostream>
using namespace cv;
using namespace std;
int main()
{
Mat image = Mat::zeros(400, 600, CV_8UC3);
image.setTo(Scalar(255, 255, 255));
fillConvexPoly(image, vector<Point>{ Point(200, 300), Point(400, 300), Point(300, 50) }, Scalar(128, 128, 128));
fillConvexPoly(image, vector<Point>{ Point(200, 300), Point(300, 175), Point(300, 50) }, Scalar(255, 0, 0));
fillConvexPoly(image, vector<Point>{ Point(400, 300), Point(305, 255), Point(305, 50) }, Scalar(0, 0, 255));
fillConvexPoly(image, vector<Point>{ Point(205, 300), Point(260, 240), Point(395, 300) }, Scalar(0, 255, 0));
imshow(“CMake Trianges!!”, image);
waitKey(0);
return 0;}
![]()
劳动成果惊人!? (课后作业留给大家:使用 OpenCV 图像处理功能制作一个 CMake 标志)
考虑到 CMakeLists.txt 文件和 CMakeTriangles.cpp 文件,我们可以很容易地运行编译:
cmake -S. -BBuild -A “Win32” cd Build && cmake –build .
现在让我们从 CMakeLists.txt 文件中删除硬编码的值
cmake_minimum_required (VERSION 3.8)
project (“CMakeTriangles”)
find_package(OpenCV REQUIRED)
# Add source to this project’s executable.
add_executable (CMakeTriangles “CMakeTriangles.cpp”)
target_link_libraries (CMakeTriangles ${OpenCV_LIBS})
# TODO: Add tests and install targets if needed.
有了这个新的 CMakeLists.txt 文件,项目编译也相应有了些改变:
cmake -S. -BBuild -A “Win32” -DOpenCV_DIR=<relativepath>/vcpkg/installed/x86-windows/share/opencv -DCMAKE_TOOLCHAIN_FILE=
<relativepath> /vcpkg/scripts/buildsystems
/vcpkg.cmakecd Build && cmake –build .
这里 <relativepath> 是相对于已安装的 vcpkg 文件夹的。使用这种方法,你将能在构建文件夹中找到运行程序所需的所有 DLL.
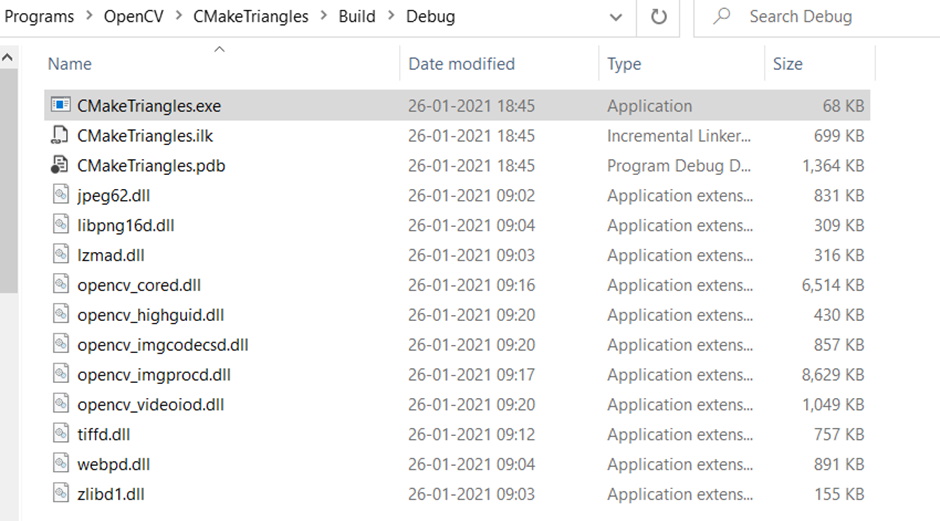
你现在可以双击这个可执行文件,显示如上图。由于 vcpkg、CMake 和OpenCV 都是跨平台的工具,Windows、Linux 和 Mac 都可以支持,因此我们能够按照上面的步骤编译并运行 CMake triangles 映像。
我们该如何添加测试?
作为架构师,我支持在开发周期中尽早添加单元测试。一种测试驱动的方法,是在编写代码之前就添加测试,这种方法可能适用于某些项目,但我反对软件开发中的任何“过度狂热”。让我们重构我们的单片代码,使其更易于单元测试(读者注意:建议在重构之前添加测试)。经过紧张地重构,我们的项目现在被拆分了 CMakeTrianglesLib.cpp、CMakeTriangles.h 和CMakeTriangles.cpp。其中 CMakeTriangles.h 是:
#pragma once
#include <opencv2/core/core.hpp>
#include <opencv2/highgui/highgui.hpp>
#include <opencv2/imgproc.hpp>
#include <iostream>
using namespace cv;
using namespace std;
#include <iostream>
Mat CreateImageWithBackground(int rows, int cols, int type, Scalar background);
void CreateConvexPolygonsOnImage(Mat image, vector<vector<Point>> points, vector<Scalar> backgrounds);
void DisplayWindowWithTitle(Mat image, string title);
CMakeTriangleslib.cpp 是:
#include “CMakeTriangles.h”
Mat CreateImageWithBackground(int rows, int cols, int type, Scalar background)
{
Mat image = Mat::zeros(rows, cols, type);
image.setTo(background);
return image;
}
void CreateConvexPolygonsOnImage(Mat image, vector<vector<Point>> points, vector<Scalar> backgrounds)
{
if (points.size() != backgrounds.size())
return; // No change in the image
for (auto i = 0UL; i < points.size(); ++i)
{
fillConvexPoly(image, points[i], backgrounds[i]);
}
}
void DisplayWindowWithTitle(Mat image, string title)
{ imshow(title, image);
}
CMakeTriangles.cpp 是:
#include “CMakeTriangles.h”
int main()
{
auto image = CreateImageWithBackground(400, 600, CV_8UC3, Scalar(255, 255, 255));
CreateConvexPolygonsOnImage(image, {
{ Point(200, 300), Point(400, 300), Point(300, 50) }, // Grey inner triangle { Point(200, 300), Point(300, 175), Point(300, 50) }, // Blue left triangle
{ Point(400, 300), Point(305, 255), Point(305, 50) }, // Red right triangle
{ Point(205, 300), Point(260, 240), Point(395, 300)} }, // Green lower triangle
//Grey, Blue Red Green { Scalar(128, 128, 128), Scalar(255, 0, 0), Scalar(0, 0, 255), Scalar(0, 255, 0) });
DisplayWindowWithTitle(image, “CMake Triangles Refactored!!”);
waitKey(0);
return 0;}
CMakeLists.txt 变成:
cmake_minimum_required (VERSION 3.8)
project (“CMakeTrianglesRefactored”)
find_package(OpenCV REQUIRED)
add_library (CMakeTrianglesLib “CMakeTrianglesLib.cpp” “CMakeTriangles.h”)
target_include_directories(CMakeTrianglesLib PRIVATE ${OpenCV_INCLUDE_DIRS})
add_executable (CMakeTriangles “CMakeTriangles.cpp”)
target_link_libraries (CMakeTriangles CMakeTrianglesLib ${OpenCV_LIBS})
编译现在生成一个额外的库文件,如下所示: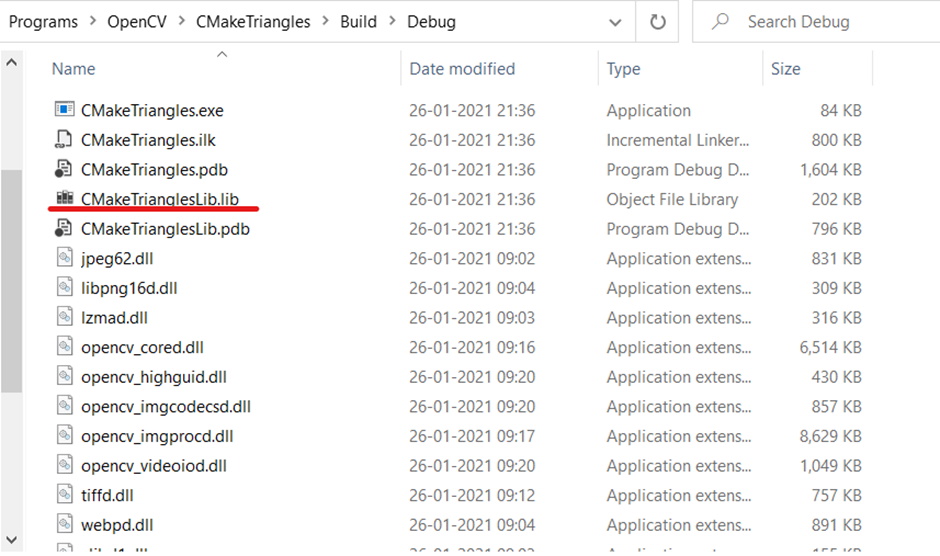
测试我们的库代码——我们希望能被广泛使用? –使用谷歌测试(GTest)。使用 vcpkg 安装 GTest,会有下列提示:
The package gtest:x86-windows provides CMake targets:
find_package(GTest CONFIG REQUIRED)
target_link_libraries(main PRIVATE GTest::gmock GTest::gtest GTest::gmock_main GTest::gtest_main)
我们已经编写了一些测试代码。创建文件 CMakeTrianglesLibTest.cpp 并加入下列代码:
#include “gtest/gtest.h”
#include “CMakeTriangles.h”
TEST(testCMakeTriangleLib, Given_Rows_Cols_Type_BG_When_CreateImageWithBackground_Call_Then_Return_OK)
{
const int r = 300;
const int c = 600;
auto image = CreateImageWithBackground(r, c, CV_8UC3, Scalar(255, 255, 255));
EXPECT_EQ(c, image.cols);
EXPECT_EQ(r, image.rows);
}
这个测试代码解释了如何使用 GTest 将所有内容与 CMake 结合起来编写OpenCV 单元测试。最后的 CMakeLists.txt 文件如下所示:
cmake_minimum_required (VERSION 3.8)
project (“CMakeTrianglesRefactored”)
find_package(OpenCV REQUIRED)
add_library (CMakeTrianglesLib “CMakeTrianglesLib.cpp” “CMakeTriangles.h”)
target_include_directories(CMakeTrianglesLib PRIVATE ${OpenCV_INCLUDE_DIRS})
add_executable (CMakeTriangles “CMakeTriangles.cpp”)
target_link_libraries (CMakeTriangles CMakeTrianglesLib ${OpenCV_LIBS})
find_package(GTest CONFIG REQUIRED)
add_executable(CMakeTrianglesLibTest “CMakeTrianglesLibTest.cpp”)
target_link_libraries(CMakeTrianglesLibTest PRIVATE CMakeTrianglesLib ${OpenCV_LIBS} GTest::gtest GTest::gtest_main)
最后,你就能成功构建整个项目,并获得:

你也可以现在执行这些测试,并获得相应结果:

结论
这是一篇很长的文章,我希望我可以带大家了解 CMake 和 OpenCV 编译,如何使用 GTest 编写 OpenCV 单元测试,并使用 CMake 完成所有工作。我知道 OpenCV ts 模块,但它只是 OpenCV 的内部模块,因此建议不要修补源代码以将它改为公开可见。使用 GTest 测试 OpenCV,使用 CMake 简化跨平台构建。我强烈推荐选择 VCPkg 作为包管理器。
编写这篇文章让我觉得乐趣无穷,希望也能将这种快乐传递给大家!?窗体顶端